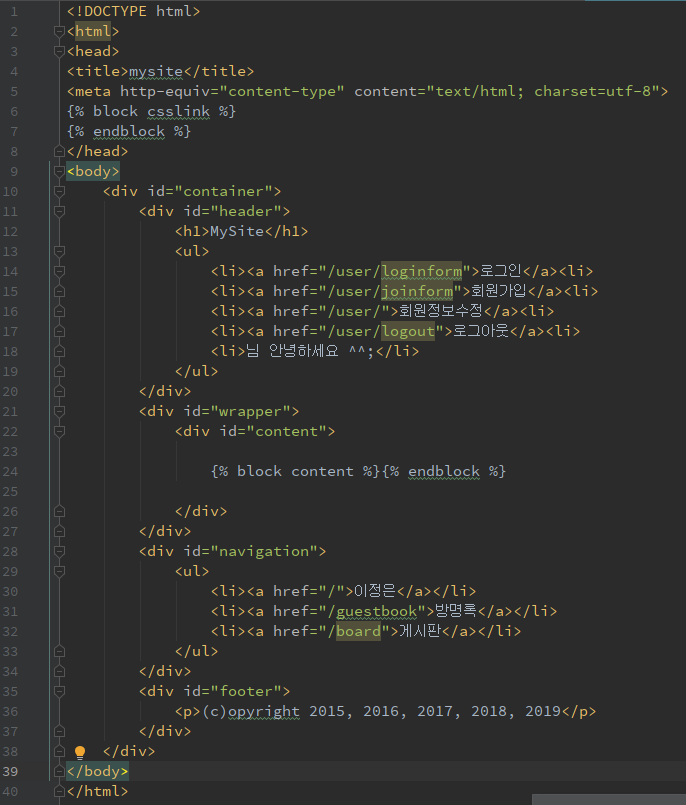
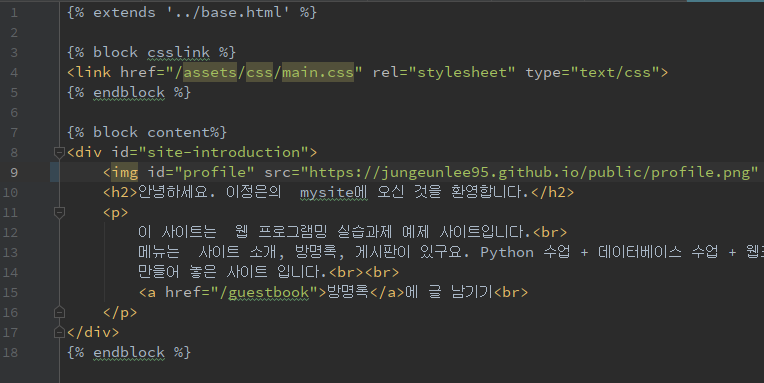
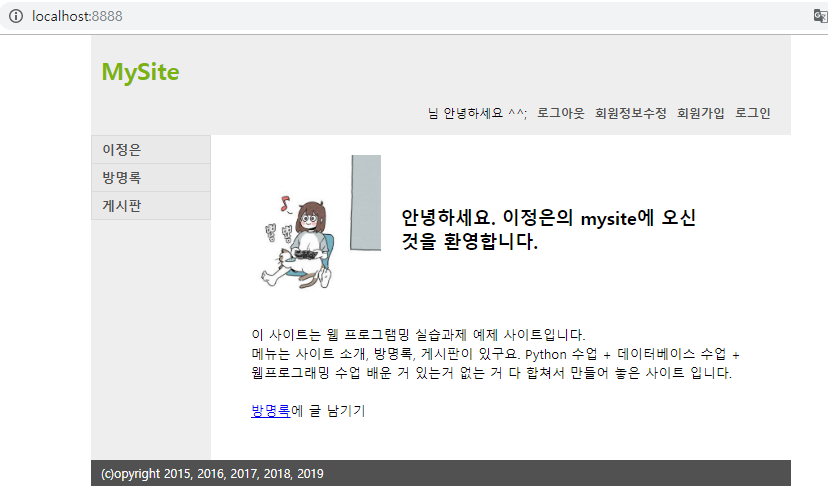
Django-mysite만들기1 DB 생성 및 기본 main페이지

|

django mini project

cafe24신입사원 교육과정 - django 수업 내용 정리

강사님github


전체 코드 보기


[1] db 만들기

database는 postgresql사용

linux를 이용해 posgresql 데이터 베이스 생성하기!

psql -U postgres

create database pysite;

create user pysite with password 'pysite';

권한 설정 : grant all privileges on all tables in schema public to pysite;

views
linux 화면

postgresql 종료 : \q

파일수정 -> ip추가

vi /cafe24/pgsql/data/pg_hba.conf

# "local" is for Unix domain socket connections only
local   pysite   pysite     password
...
# IPv4 local connections:
host    pysite   pysite          127.0.0.1/32        password
...
host    pysite   pysite          192.168.1.0/24      password
...

데모 restart

/etc/init.d/postgres stop

/etc/init.d/postgres start

DBeaver통해서 conntect 확인하기

views
connect 성공

[2] 가상환경에 장고 설치

pycharm을 이용하면,

프로젝트 생성시 자동으로 venv 가상환경을 만들어주며,

프로젝트를 open하면 자동으로 venv 가상환경이 실행된다.

terminal -> pip install django

[3] django start project

terminal -> django-admin startproject pysite

[4] 디렉토리 정리

views

[5] psycopg2 설치

terminal -> pip install psycopg2

[6] settings 설정

TIME_ZONE = 'Asia/Seoul'

DATABASES = {
    'default': {
        'ENGINE': 'django.db.backends.postgresql',
        'NAME': 'pysite',
        'USER': 'pysite',
        'PASSWORD': 'pysite',
        'HOST': '192.168.1.52',
        'PORT': 5432,
    }
}
TEMPLATES = [
    {
        ...
		'DIRS': [os.path.join(BASE_DIR, 'templates')],
        ...
    }
]

[7] migrate

terminal -> python manage.py migrate

[8] 관리 계정 생성

terminal -> python manage.py createsuperuser

[9] 서버실행(작업확인)

terminal -> python manage.py runserver 0.0.0.0:8888

[10] main app 만들기

terminal -> python manage.py startapp main

[11] settings -> main app 추가

INSTALLED_APPS = [
    'main',
    ...
]

[12] templates dir 추가

views

index.html

<!DOCTYPE html>
<html>
<head>
<title>mysite</title>
<meta http-equiv="content-type" content="text/html; charset=utf-8">
<link href="/assets/css/main.css" rel="stylesheet" type="text/css">
</head>
<body>
	<div id="container">
		<div id="header">
			<h1>MySite</h1>
			<ul>
				<li><a href="">로그인</a><li>
				<li><a href="">회원가입</a><li>
				<li><a href="">회원정보수정</a><li>
				<li><a href="">로그아웃</a><li>
				<li>님 안녕하세요 ^^;</li>
			</ul>
		</div>
		<div id="wrapper">
			<div id="content">
				<div id="site-introduction">
					<img id="profile" src="https://scontent-icn1-1.xx.fbcdn.net/v/t1.0-1/p240x240/30705531_2083087868372808_5261052926483232647_n.jpg?_nc_cat=0&oh=db97a9950eade94d765d2b566ff92fbc&oe=5BE17354">
					<h2>안녕하세요. 이정은의  mysite에 오신 것을 환영합니다.</h2>
					<p>
						이 사이트는  웹 프로그램밍 실습과제 예제 사이트입니다.<br>
						메뉴는  사이트 소개, 방명록, 게시판이 있구요. Python 수업 + 데이터베이스 수업 + 웹프로그래밍 수업 배운 거 있는거 없는 거 다 합쳐서
						만들어 놓은 사이트 입니다.<br><br>
						<a href="#">방명록</a>에 글 남기기<br>
					</p>
				</div>
			</div>
		</div>
		<div id="navigation">
			<ul>
				<li><a href="">이정은</a></li>
				<li><a href="">방명록</a></li>
				<li><a href="">게시판</a></li>
			</ul>
		</div>
		<div id="footer">
			<p>(c)opyright 2015, 2016, 2017, 2018, 2019</p>
		</div>
	</div>
</body>
</html>

[13] urls.py 매핑 추가

pysite/urls.py

import main.views as main_views

urlpatterns = [
    path('', main_views.index)
    path('admin/', admin.site.urls),
]

[14] views.py 코드 추가

main/views.py

from django.shortcuts import render

# Create your views here.
def index(request):
    return render(request, 'main/index.html')

[15] settings.py + STATIC 디렉토리 설정

미리 준비해놓은 자료를statics/ 넣어줬다.

STATICFILES_DIRS=(os.path.join(BASE_DIR, 'statics'),)
STATIC_URL = '/assets/'

static 디렉토리 추가

views


[16] 템플릿 확장 - block 설정

페이지마다 달라지는 코드들을 분리해서 block으로 만든다.

base.html

views

index.html

views

main 페이지 완성!

views

[17] DB Schema 정의

1561348145033